
8 Lone Worker Safety Tips for Safer Shifts
You’re finishing a late shift, driving between sites, waiting for a rideshare, or locking up after everyone else has gone home. A routine check-in gets missed. Maybe your phone is on low battery. Maybe the signal drops in a stairwell or loading bay. Maybe nothing is wrong. The problem is that nobody watching from the outside can tell the difference quickly enough.
Good lone worker safety doesn’t depend on one app, one text, or one person remembering to ask if you’re okay. It works when solo work becomes a managed process with predictable routines, trusted human oversight, reliable connectivity, clear escalation triggers, and precise responder information. In Great Britain alone, the Health and Safety Executive reported 124 workers killed in work-related accidents in 2023, 680,000 working people sustaining an injury at work, 59,219 employee injuries reported under RIDDOR, 40.1 million working days lost, and an estimated £22.9 billion cost from injuries and ill health tied to current working conditions in 2023/24, according to the HSE workplace injury update.
3rd-i can support that process with live video, audio, location sharing, check-ins, Safety Agent monitoring, recording, and emergency escalation through RapidSOS. But the tool only helps when the routine around it is clear.
A safety plan should define what happens before, during, and after a missed check-in.
If you work alone in large buildings or campuses, detailed navigation also matters. In some environments, campus wayfinding without GPS or Wi-Fi can be part of the response plan when normal location signals are weak.
Table of Contents
- 1. Establish Real-Time Monitoring with Trusted Contacts
- 2. Use One-Tap Check-In Tools to Replace Manual Texting
- 3. Enable Automatic Recording and Incident Documentation
- 4. Escalate Emergencies Directly to 911 Through Trained Safety Agents
- 5. Establish Predictable Routines and Communication Schedules
- 6. Verify Driver Identity and Vehicle Information for Rideshare Safety
- 7. Maintain Battery Life and Network Connectivity During Vulnerable Periods
- 8. Share Clear Location Context and Entry Points with Emergency Responders
- 8-Point Lone Worker Safety Comparison
- Make the Checklist Routine Before Risk Appears
1. Establish Real-Time Monitoring with Trusted Contacts

A cleaner arrives at a site before dawn, checks in once, and then disappears into a basement plant room with weak signal. If that single check-in is your only control, nobody knows whether a delay means poor reception, a flat battery, or a real emergency. Real-time monitoring closes that gap by giving a trusted person live visibility during the part of the shift where things can go wrong fast.
Use it for defined risk windows, not as all-day surveillance. The goal is to maintain live oversight while someone is travelling alone, entering an isolated area, meeting an unknown person, or finishing a late shift.
With 3rd-i, that can include live route, video, and audio sharing with a selected watcher group before the worker becomes hard to reach. A rideshare driver can share a late-night trip with family and a trained Safety Agent. A student employee can share the walk from the station to campus housing. A facilities technician can start monitoring before entering a plant area where voice contact often drops.
Set the watcher plan before the shift
Monitoring works when the response chain is already set. Pick the watchers in advance, tell them what task is happening, and define exactly when they need to act.
- Assign watchers by function: One contact may call first, another may alert a supervisor, and a trained Safety Agent may handle emergency escalation.
- Set a start and stop window: Define when monitoring begins, when the task should end, and how long a delay is acceptable before someone intervenes.
- Agree on escalation steps: If the worker stops moving, goes off route, disconnects unexpectedly, or fails to respond, the watcher should know whether to call the worker, dispatch onsite help, or contact emergency services.
- Keep access current: Review watcher permissions regularly and remove former staff, ex-housemates, or anyone who no longer needs visibility.
- Use tools that reduce delay: For solo travel or field work, a dedicated option for live location sharing is more reliable than piecing together texts and missed calls.
Practical rule: A watcher should know the route, the expected finish time, the first action to take if contact drops, and when to call emergency services.
There is a privacy trade-off. Continuous tracking can be excessive if there is no reason for it, and in some workplaces it can damage trust. The workable approach is limited-duration monitoring tied to a specific task, with clear consent, clear access rules, and a clear end point. It also has technical limits. GPS can drift, indoor signals can fail, and video drains battery faster than location sharing alone. Build the procedure around those limits so a signal loss triggers a response instead of confusion.
2. Use One-Tap Check-In Tools to Replace Manual Texting
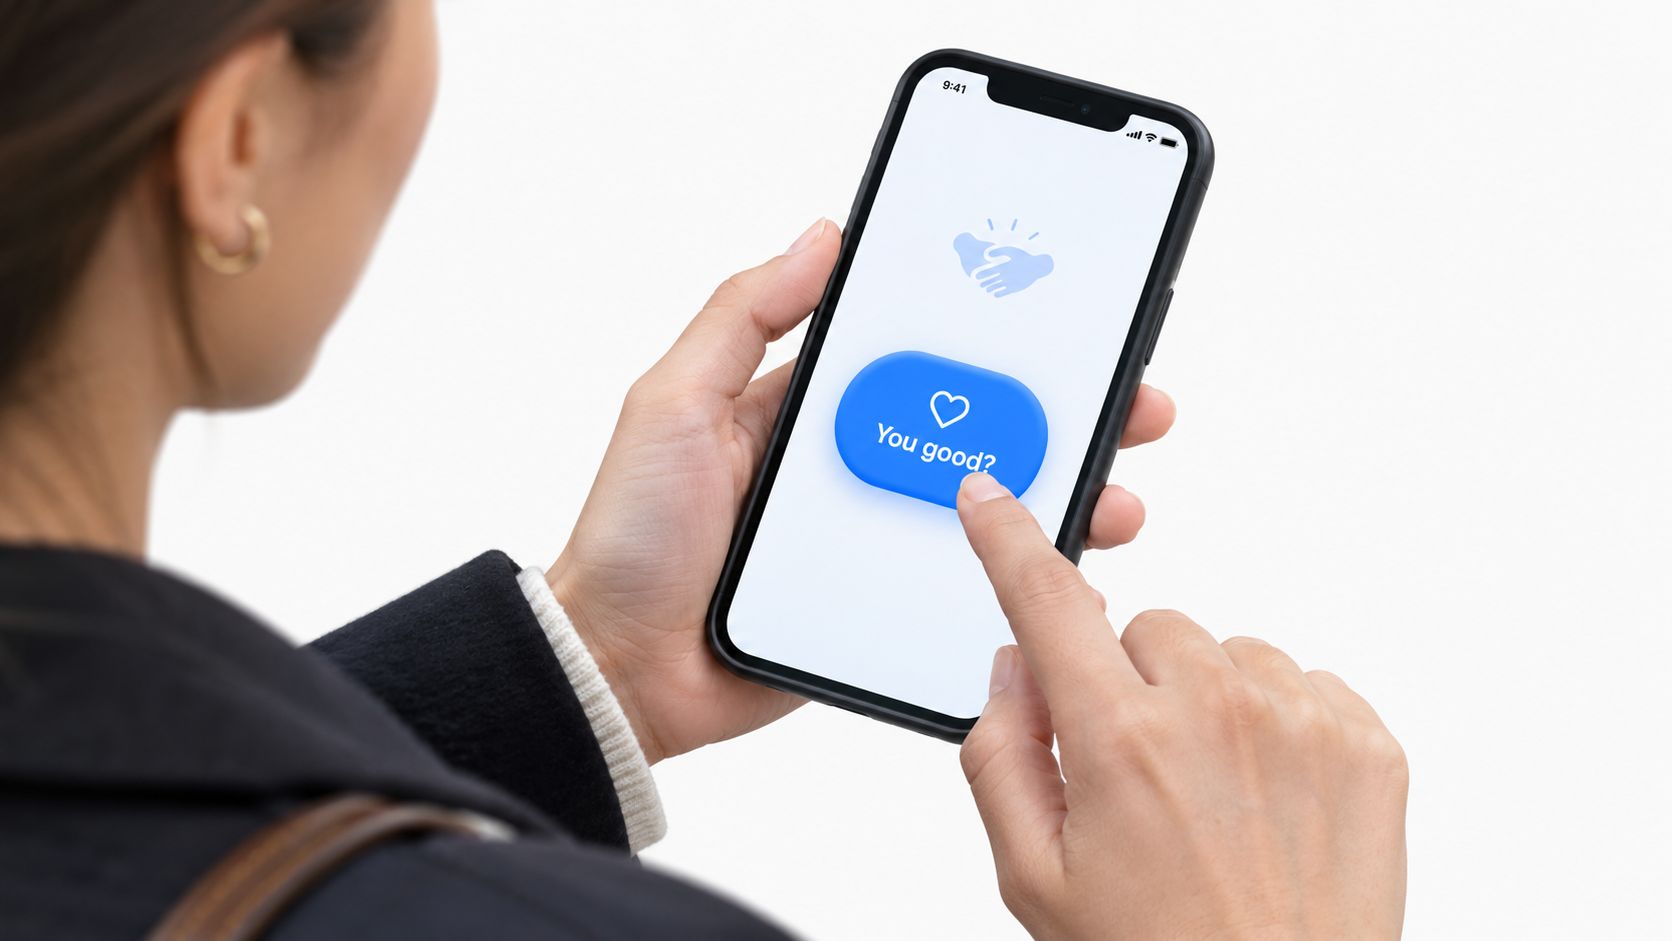
A worker finishes a stop, pockets the phone, crosses a dark lot, and forgets to send the promised text. Nothing is wrong yet. The delay still creates uncertainty, and uncertainty slows the next decision.
Manual texting breaks down for a simple reason. It depends on memory and spare attention during the part of the shift that usually has the most distractions. Drivers are parking. Guards are changing areas. Home health staff are entering or leaving properties. A one-tap check-in removes that extra task and turns status confirmation into a repeatable step.
Set it up as a procedure, not a casual habit. Use a fixed prompt, a fixed response window, and a fixed action if no response arrives. “Arrived?” and “Left site?” work better than open-ended messages because the worker can answer fast and the watcher can tell which transition was completed.
Build your nudge language around the actual routine
Good prompts map to moments where risk changes.
- Tie each prompt to a transition: arrival, entry, exit, route change, and return are the points worth confirming.
- Keep the reply simple: one tap, one short preset, or one code word. If a worker has to type, delay creeps back in.
- Write prompts that remove guesswork: “Inside building?” is clearer than “Checking in.”
- Set the missed-check-in rule in advance: no reply after the agreed window should trigger the next action, whether that is a call, a supervisor alert, or emergency services if the circumstances justify it.
For higher-risk movement, such as walking to transit after a late shift or crossing a large site alone, pair low-friction check-ins with a tool built for that job, such as a walk home safe app. That reduces the temptation to fall back on ad hoc texting that nobody monitors consistently.
One-tap tools have limits. A tap confirms contact at that moment. It does not prove the worker is safe, alone, unpressured, or still on plan five minutes later. Phones can be muted, prompts can be missed, and weak signal can delay delivery. Treat one-tap check-ins as the middle layer of the system. They reduce communication friction and verify high-risk transitions, but they still need clear oversight, defined escalation, and a direct 911 path when the situation calls for it.
3. Enable Automatic Recording and Incident Documentation
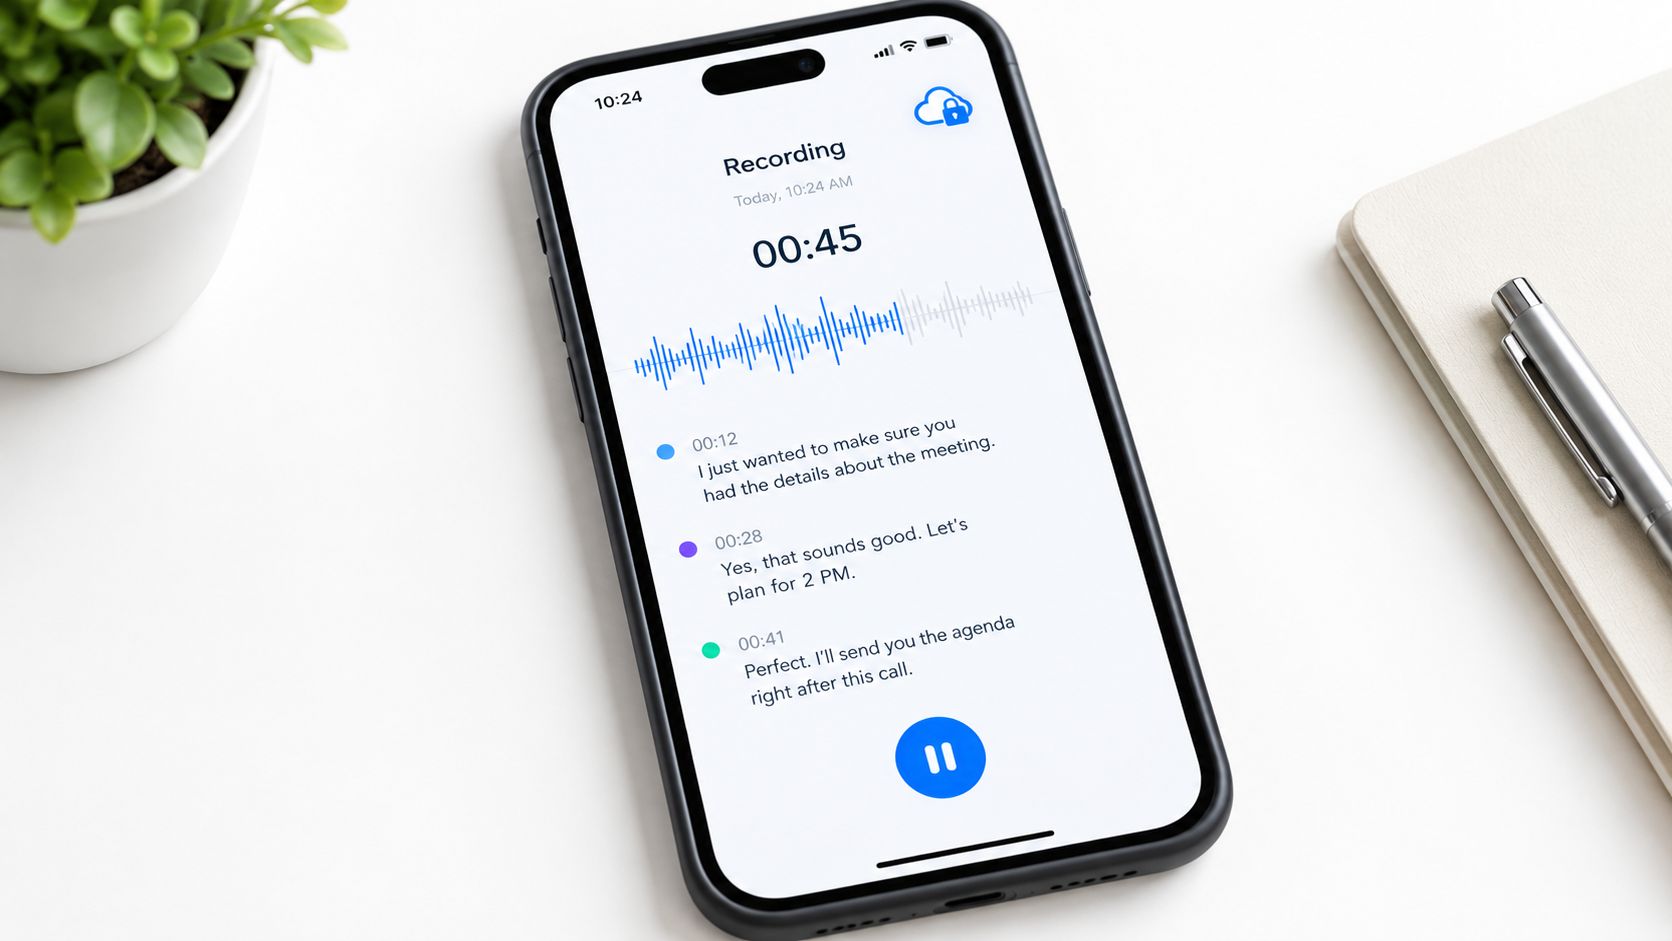
A worker leaves a site on time, misses the next check-in, and later says, “I told them the route changed.” The supervisor remembers a different call. The driver says there was no argument. By the time anyone tries to piece it together, the timeline is already muddy.
That is why location alone is not enough. A breadcrumb trail may show where someone went, but it rarely captures pressure in a voice, a refused entry, a route deviation, or the exact moment a situation turned unsafe. Automatic recording and incident documentation fill that gap with a usable sequence: audio, timestamps, transcript, trigger event, and follow-up notes tied to the same record.
Use it selectively and write the rule down. Start recording at the points where risk rises, not all day by default. Common triggers include an SOS press, a missed check-in after the grace window, a worker entering a flagged location, a rideshare route leaving the expected corridor, or a safety agent joining a live incident. That approach gives you evidence when it matters without collecting hours of irrelevant material.
A good record should answer five questions fast:
- What happened first.
- When the risk level changed.
- Where the worker was at each change.
- Who was notified, and when.
- What action followed.
Tools matter, but policy matters more. If your team uses an emergency button app that records incident context, decide in advance who can start a recording, who can review it, and what gets exported for an investigation or police report.
Privacy is the trade-off, and workers notice when employers handle it badly. Recording without clear notice, open-ended storage, or loose access rights will damage trust quickly. Set retention periods, restrict playback to people with a defined response role, secure accounts with strong authentication, and check local consent and recording laws before rollout. In some jurisdictions, audio rules are stricter than location sharing, so the procedure cannot be copied from another region without review.
Keep the output useful. A transcript that is never matched to the alert, the map, and the escalation log will not help much after the fact. Preserve the evidence in one incident file so a supervisor, investigator, or responder can reconstruct the event without guessing.
4. Escalate Emergencies Directly to 911 Through Trained Safety Agents
The hardest moment in lone worker safety is the gap between “something is wrong” and “responders have enough information to act.” That gap widens when the worker can’t speak clearly, doesn’t know the address, is moving through multiple jurisdictions, or is too distressed to stay on the line.
Trained Safety Agents can help bridge that gap by receiving the live stream, assessing what’s happening, and escalating with more context than a silent panic alert alone. For a rideshare passenger, that may mean a watcher sees the route change, hears the exchange, and helps move the case to emergency dispatch. For a remote employee in a large facility, it may mean someone else can explain the building access point while the worker focuses on getting safe.
Still, the rule is straightforward. If you can call emergency services directly, do it. Don’t wait for an app flow to replace a live emergency call when you have the ability to speak now.
Use human escalation for context, not hesitation
Independent market research indicates the user base of lone worker safety solutions across Europe, North America, and Australia/New Zealand reached about 2.3 million at the end of 2024, with Europe alone at 1.2 million users and projected to grow to nearly 1.7 million by 2029. The same research says the combined market value for those regions was €285 million in 2024, with Europe projected to reach roughly €180 million, North America €100 million, and Australia/New Zealand €75 million by 2029, according to the ResearchAndMarkets report summary on Business Wire. The reason that matters in practice is that buyers increasingly expect monitoring workflows and escalation logic, not just a panic button.
Use the system like this:
- Test the SOS path in advance: Know where the button is, who receives it, and what happens next.
- Tell responders what kind of help you need: Medical, police, fire, or workplace security.
- Stay connected if you can: Audio, video, and live location give agents more to relay.
- Confirm the final details: Entrance point, floor, gate, or nearest landmark still matters.
Call emergency services immediately when the threat is active, medical, or time-critical. Monitoring support adds context. It doesn’t replace urgent action.
5. Establish Predictable Routines and Communication Schedules
At 9:40 p.m., a missed check-in can mean two very different things. The worker got delayed by a normal task, or something went wrong and nobody noticed the transition from routine to risk.
Predictable routines solve that problem by making silence easier to interpret. If a cleaner starts at one site, checks in after entry, confirms a mid-shift status, and closes out after leaving, the team knows which missed step matters and when to act. That is the point of this part of the system. Prepare the routine before the shift starts so live oversight has something concrete to measure against.
The routine does not need to be rigid. It needs to be clear.
A useful schedule usually has four fixed points: start of shift, arrival at the first higher-risk location, one timed welfare check during the work window, and a final exit confirmation. Add more checkpoints only where the risk changes. Entry into an empty building, work in a plant room, travel between sites, and late-night homebound travel often justify an extra confirmation. Routine office movement usually does not.
Write the procedure so both sides use the same definitions. “On site” should mean arrived and entering, not parking outside. “Delayed” should include how much delay is acceptable before someone follows up. “Clear” should mean the worker has exited the risk area, not just finished the task.
Missed check-ins also need a clock, not guesswork. A practical escalation ladder looks like this: one missed check triggers an in-app prompt or text, no response triggers a phone call, continued silence triggers supervisor or designated contact review, and signs of immediate danger trigger emergency action. If the worker reports an injury, threat, or medical issue, skip the routine and call emergency services.
Privacy and usability matter here. Some workers resist scheduled updates because they feel overtracked, especially when shifts include breaks, personal errands, or sensitive client visits. That concern is real. The fix is to track the risk windows, not every minute of the day. Limit location sharing to work periods where it supports a defined response procedure, and make off-duty status easy to switch on and off.
Review the routine whenever the job changes. Winter darkness, route closures, new sites, special events, poor reception areas, and changed finish times all affect what a “normal” shift looks like. If the written schedule no longer matches the work, people stop trusting it, then they stop using it.
Used well, a routine reduces friction for everyone involved. The worker does fewer ad hoc updates. The watcher knows when to wait and when to act. If an escalation becomes necessary, the record already shows the last expected step, the first missed one, and the point where the response should begin.
6. Verify Driver Identity and Vehicle Information for Rideshare Safety
The risky moment is the curbside handoff.
A worker finishes a late shift, sees a car pull up, opens the rear door, and only then notices the plate does not match the app. By that point, fatigue and social pressure are already working against good judgment. The safer procedure is to treat pickup as a stop point, not a default next step.
Use a short verification sequence every time. Check the driver name in the app. Match the license plate exactly. Confirm the vehicle make and color, since plates can be hard to read in rain, glare, or poor lighting. If any detail is off, stay outside the vehicle and resolve it from a distance.
That pause matters because rideshare mistakes are often simple, but the consequences are not. A wrong-car entry creates confusion at best and immediate personal risk at worst. For lone workers, this step fits into the larger safety system. Preparation happened before the trip was booked. Live oversight should already be running. Pickup verification is the transition check that confirms the person, vehicle, and trip all match before movement starts.
Watch this kind of situation in action before you rely on memory under stress.
Use this curbside routine:
- Stop outside the car. Do not get in first and verify later.
- Read the plate from the vehicle itself. Do not rely on the driver saying your name.
- Match at least three details. Plate, driver name, and vehicle make or model.
- Open your safety app before entry. Start monitoring or recording while you are still outside.
- Sit where you can exit quickly if needed. Usually rear passenger side, depending on local conditions.
- Report a mismatch through the rideshare app. If the situation feels threatening, move to a safe place and call emergency services.
There are trade-offs here. Photographing the plate can preserve evidence, but it is not always practical, lawful, or safe to do in the moment. Telling the driver that your trip is being monitored can reduce ambiguity, but it can also create tension. Use judgment. The rule is simple. Do not give up verification or oversight to avoid an awkward interaction.
Route changes need their own threshold. A missed turn is common. A driver bypassing the destination, disabling the app route, refusing to answer a direct question, or stopping somewhere unexpected deserves immediate action. Ask to end the trip in a populated, safe location. If you believe you are in danger, call 911 and share the vehicle details and live location already running in your safety system.
Done consistently, this step closes a common gap in lone-worker protection. It verifies the handoff, preserves identifying details early, and gives responders or designated watchers accurate information if the trip goes wrong.
7. Maintain Battery Life and Network Connectivity During Vulnerable Periods
Your phone can fail before the situation does.
A lone worker can do everything right, then lose the one device carrying check-ins, live location, call access, and incident records. Battery and signal management belong in the routine, not as an afterthought once the shift starts. Apple’s guidance on maximizing battery life and lifespan is a useful reminder that settings, charging habits, and battery health directly affect whether a safety tool stays available long enough to matter.
Treat power and connectivity as a pre-task control. Before any vulnerable period, start with a charged phone, confirm the power bank is also charged, and check whether the app you rely on still has location, microphone, and background-refresh permissions enabled. A safety app that is force-closed, battery-restricted, or denied background location may look ready while failing without warning.
Build a repeatable battery and signal routine
- Start above a defined battery threshold. Set a rule such as 80% before solo travel, site visits, late-night returns, or any task where help may be delayed.
- Carry backup power you have already tested. A cable that only charges at certain angles is not a backup plan.
- Use low power mode early, not at 5%. Extending run time during the whole vulnerable window works better than trying to save the phone at the end.
- Map known dead zones. Basements, stairwells, plant rooms, parking structures, rural roads, and lift cores often drop signal. Log them and tell the person monitoring you what loss of contact is expected.
- Reduce unnecessary drain in weak coverage areas. Poor signal makes phones work harder. Limit streaming, hotspot use, and nonessential apps when coverage is already unstable.
- Keep one charging method on your person. A power bank in the vehicle does not help if the problem starts after you step away from it.
Battery health matters too. An older phone may show 40% and still shut down under load, in heat, or during a video call. Basic maintenance, replacement timing, and charging habits affect reliability. This myhalo phone battery guide is a practical reference if your device drains fast or no longer holds charge through a normal shift.
Signal has limits no app can solve. If the route includes poor coverage, set the procedure in advance: last confirmed location, expected reconnect point, missed-check escalation time, and when a contact should call emergency services. That reduces false alarms, but it also prevents the opposite problem, where everyone assumes the outage is normal and responds too late.
Dead battery. No signal. No escalation path. That is the failure chain this step is meant to stop.
8. Share Clear Location Context and Entry Points with Emergency Responders
A responder can arrive at the right address and still lose minutes at the gate, the wrong lift lobby, or a locked after-hours entrance. For lone workers, those minutes matter.
This step is about the handoff. Your earlier checks, monitoring, and escalation process can work exactly as intended, but the response still slows down if nobody can answer a simple question: where should emergency services enter, and what will they see when they get there?
Large sites create predictable failure points. Office parks have multiple buildings with the same street number. Warehouses may use one entrance for staff and another for deliveries. Hospitals, campuses, apartment towers, and industrial compounds often have restricted access after hours. GPS gets responders close. It does not tell them which gate opens, which stairwell reaches your floor, or which side of the building is usable.
Set the location record before the shift starts, and write it in a format another person can relay under stress.
Use this structure:
- Exact site name and street address
- Best responder entrance, such as Gate C, north loading dock, or lobby on service road
- Floor, unit, room, wing, plant area, or stairwell
- Access barrier details, including locked doors, intercom instructions, guard post, or keycard limits
- Closest visible landmark or sign
- Safe meeting point if you can still move
A weak location handoff sounds like this: “I’m at the warehouse on Junction Road.”
A usable handoff sounds like this: “Unit 4, Junction Road Logistics Centre. Enter through the south vehicle gate beside Dock 7. Pedestrian door is inside the loading bay. I’m on Level 2, electrical room near Stairwell B.”
That level of detail helps in two ways. It shortens search time for responders, and it gives the person escalating the incident a script instead of forcing them to improvise.
If your work takes you into changing locations, do not rely on memory alone. Save standard entry notes for each site in the safety app, dispatch sheet, or contact record you already use. Review them when layouts change, when access hours change, or when a client moves your work area. Old entry instructions cause the same kind of delay as no instructions at all.
If you are injured and unable to move safely, staying put is often the better choice. Keep the line open if possible. Give the clearest entry description you can. If conditions are getting worse, such as fire, traffic exposure, violence, or a medical emergency that needs immediate intervention, call emergency services at once or have your escalation contact do it with your last confirmed location and access notes.
8-Point Lone Worker Safety Comparison
| Feature | Implementation Complexity 🔄 | Resource & Infrastructure ⚡ | Expected Outcomes ⭐📊 | Ideal Use Cases 💡 | Key Advantages ⭐ |
|---|---|---|---|---|---|
| Establish Real-Time Monitoring with Trusted Contacts | Medium‑High 🔄, watcher coordination, permissions setup | High ⚡, continuous video/audio, GPS, watcher/agent capacity | ⭐⭐⭐⭐, real‑time detection, faster informed escalation 📊 | Solo late‑night commutes, rideshares, isolated shifts | Immediate situational context; deterrence; faster response ⭐ |
| Use One‑Tap Check‑In Tools to Replace Manual Texting | Low 🔄, simple UI and preset messages | Low ⚡, minimal bandwidth, low battery impact | ⭐⭐, improved check‑in reliability; reduced distraction 📊 | Short commutes, delivery checkpoints, quick solo tasks | Low friction confirmations; consistent habit loop ⭐ |
| Enable Automatic Recording and Incident Documentation | Medium 🔄, recording, transcription, AI summary pipelines | High ⚡, cloud storage, processing, encryption, compliance | ⭐⭐⭐⭐, objective evidence; faster investigations; legal support 📊 | Incidents requiring proof, insurance claims, post‑incident review | Preserves timestamped evidence; reduces disputes; AI summaries ⭐ |
| Escalate Emergencies Directly to 911 Through Trained Safety Agents | High 🔄, agent workflows, RapidSOS integration, protocols | High ⚡, staffed agents, integration maintenance, continuous connectivity | ⭐⭐⭐⭐⭐, immediate dispatch with full context; cross‑jurisdiction aid 📊 | Victims unable to call, multi‑jurisdiction incidents, severe crises | Direct 911 escalation with video/location; agent guidance during response ⭐ |
| Establish Predictable Routines and Communication Schedules | Low‑Medium 🔄, schedule and baseline configuration | Low ⚡, periodic prompts, movement detection | ⭐⭐⭐, early deviation detection; fewer false alarms 📊 | Regular commutes, shift work, habitual solo activities | Baseline monitoring for quick anomaly detection; prioritizes attention ⭐ |
| Verify Driver Identity and Vehicle Information for Rideshare Safety | Low 🔄, brief verification steps and optional short streams | Medium ⚡, short streaming/photo capture at pickup | ⭐⭐⭐⭐, prevents wrong‑vehicle entry; immediate watcher alerts 📊 | Rideshare pickups, late‑night rides, unfamiliar drivers | Confirms driver/vehicle before entry; real‑time watcher verification ⭐ |
| Maintain Battery Life and Network Connectivity During Vulnerable Periods | Low‑Medium 🔄, optimization settings and offline fallback | Medium ⚡, portable chargers, optimization features, offline modes | ⭐⭐⭐⭐, ensures system availability; reduces mid‑incident failures 📊 | Long shifts, extended commutes, areas with known dead zones | Prolongs monitoring; enables SOS access when needed; reduces disconnects ⭐ |
| Share Clear Location Context and Entry Points with Emergency Responders | Medium 🔄, map pins, entry pin setup, venue detail prep | Medium ⚡, precise GPS, RapidSOS data, preconfigured entry info | ⭐⭐⭐⭐, reduced response time; accurate responder routing 📊 | Large buildings, campuses, unfamiliar venues, complex sites | Exact entry guidance for responders; minimizes wrong‑entrance delays ⭐ |
Make the Checklist Routine Before Risk Appears
The strongest lone worker programs don’t depend on memory in the moment. They use the same pre-shift setup every time so the worker, the watcher, and the employer already know what happens next.
Before a solo shift or trip begins, run the basics. Charge and test the phone. Confirm who’s watching, whether that’s a trusted contact, supervisor, dispatcher, or Safety Agent. Set the expected route, task window, and check-in schedule. Identify the best entry point for responders. Decide what a missed check-in triggers, in what order, and after how long.
That last part is where many systems fail. The worker assumes someone will notice. The contact assumes the worker is just busy. The manager assumes the app will handle it. Nobody owns the escalation, so the delay grows. A written procedure fixes that by assigning the next action to a real person.
Employers also need to carry their share of the system. Workers shouldn’t shoulder the entire burden alone. Management needs to document escalation ownership, privacy expectations, approved contacts, shift updates, device readiness, and training. If recording is enabled, retention and access rules need to be clear. If ghost mode or temporary privacy controls are available, workers need to know when they’re appropriate and when they break the monitoring chain. If a task is high risk, supervisors need to decide whether it should be done alone at all.
There’s also a cultural issue. If workers report concerns and nothing changes, the policy becomes paper protection. People stop reporting, route around the process, or avoid certain jobs and locations altogether. The fix isn’t another reminder email. It’s follow-through. Review incidents. Update the route plan. Change the check-in interval. Modify staffing. Close the loop visibly so workers know the system is real.
3rd-i can fit into that checklist by adding live oversight, one-tap nudges, SOS access, recordings, and responder context. It’s useful for late walks, rideshares, lone shifts, and travel between sites. It is not a substitute for calling emergency services when immediate help is needed.
“A lone-worker plan works best when every person knows the next action before an emergency begins.”
If you want to put these lone worker safety tips into a working routine, 3rd-i offers live video, audio, location sharing, check-ins, Safety Agent monitoring, recording, and emergency escalation support. It’s built for the exact moments covered here, including late shifts, rideshares, solo commutes, and isolated work where a missed check-in can’t be left to chance.